Year-End Accessibility Tune-Up Part 2: Worth a Thousand Words?


This post is part two of our Year-End Accessibility Tune-Up series, featuring short, practical guides to help you evaluate and improve the accessibility of your website as we head into the new year. Each installment focuses on small but impactful steps you can take to ensure your content is readable, navigable, and welcoming to all users.
As we explored in Part 1 of our Year-End Accessibility Tune-Up series, improving your website’s structure lays the foundation for an accessible user experience. These structural elements help users understand and move through your content, and they also support screen readers and search engine indexing.
But structure is only one piece of an accessible website. Visual design and imagery play an equally important role, especially as more sites rely on color, images, and graphics. While visuals can add personality and clarity, they can also create barriers if users cannot perceive them or if key information is only presented by images that not all users can see.
In this second installment, we’ll shift from the “skeleton” of your site to its “surface": the colors, images, and visual elements that shape how users interpret your content. We’ll look at how to use color intentionally and how to provide text equivalents for visual information so that everyone, regardless of ability or device, can access what you’re communicating.
So, how can you make your website more accessible in just a few easy steps?
1) Be intentional with your use of color
While design and aesthetics are certainly important, intentional use of color is just as important. Color is an important piece of accessibility, especially for those who are color-blind, have poor vision, or are completely blind.
- Check your color contrast.
- Web Content Accessibility Guidelines (WCAG) 2.1 specifies that the text and the background that the text is on have at least a contrast ratio of at least 4.5:1 for normal text and 3:1 for large text. To check the contrast of your background color and text color, WebAIM has a free contrast checker.
- Don’t rely on color alone to distinguish visual elements on your webpage.
- Links should be underlined in addition to being a different color.
- Buttons should have outlines to improve visibility.
- Headings and other section markers should have HTML metadata that distinguishes them (to learn more about headings and hierarchy, read our first blog from this series).
2) Provide text equivalents to visual content
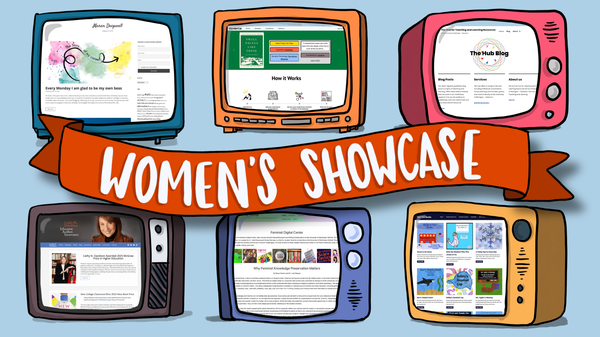
With the old adage “A picture is worth a thousand words”, it’s easy to rely on visual media to convey information, especially because it may be more aesthetically pleasing than the base text editor your content manager offers. However, for users who can’t access the images, whether that be due to a visual impairment, or just because they don’t have the network firepower to load your visuals, they could be missing some key pieces of information.
- Provide meaningful but simple alternate text or alt-text for images that tell users the purpose of the image if it doesn’t load or they can’t see it. WordPress has an extremely easy way to add alt-text that will apply to wherever your image is placed, even if it’s in multiple places across your site. Learn more about alt-text best practices here.
- Avoid images that contain text whenever possible. Instead, write the text on your webpage and adjust the formatting of the text until your text looks the way you want it. If you do have an image that contains text, make sure to include it in the alt-text, word for word.
- Provide captions wherever possible to describe photos that could be misinterpreted by the user.
3) Use a free (or paid) accessibility checker
As mentioned in Part 1, accessibility checkers are an excellent companion to manual best practices. While you can address many issues on your own, these checkers help ensure you’re not overlooking anything. W3.org has a list of accessibility checkers that they recommend, and WordPress has a variety of accessibility plugins that do the same. One plugin we've heard users have success with is WP Accessibility - a plugin designed to help with some common accessibility issues on Wordpress.
Taking the time to make just these few adjustments to your website can make a major impact on your users, it’s search engine optimization, and your website’s reputation. Those who ascribe to the UDL framework know, building accessibility doesn’t just benefit those with disabilities, it benefits everyone.
Don’t make your website accessible because it’s what you have to do– do it because it’s what you should do, for yourself and for others.